
Hurricane Milton may have passed, but the aftermath can leave lasting damage to your home’s roof. It’s critical to assess any potential harm quickly to prevent further issues. Knowing what to look for can help you protect your home and simplify the insurance claim process. Here’s a step-by-step guide for homeowners on how to assess roof damage after a hurricane.
1. Safety First: Proceed With Caution
Before you begin checking for roof damage, ensure your safety. Avoid going on the roof until you’re sure it’s safe, as some damage might not be visible at first glance. Debris, loose tiles, or unstable roofing materials can pose serious risks. Always wear protective gear like gloves and sturdy shoes and, if possible, use a pair of binoculars for a safer inspection from the ground.
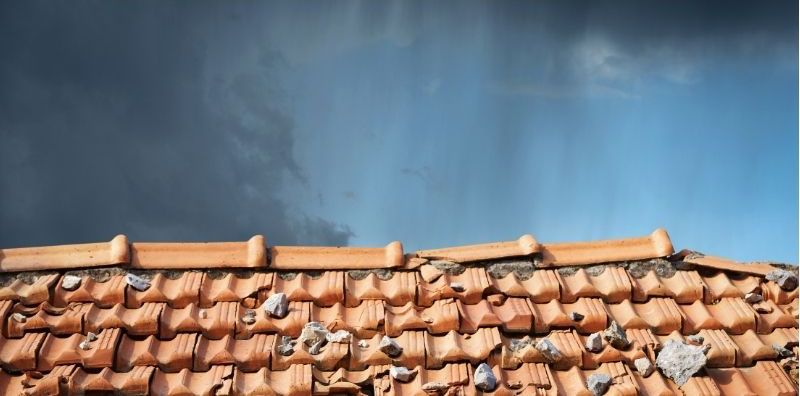
2. Check for Visible Signs of Damage
Start by looking for obvious issues from the ground or a ladder, without walking directly on the roof. Common visible signs of roof damage include:
- Missing shingles or tiles
- Cracked, broken, or curling shingles
- Dented or punctured metal roofing
- Exposed roof underlayment or insulation
- Detached or damaged flashing
- Sagging areas on the roof These signs indicate that your roof may need repair or even replacement, depending on the extent of the damage.
3. Inspect Gutters and Downspouts
Debris accumulation in gutters and downspouts can be a telltale sign of roof damage. Check for:
- Shingle granules: If you see large amounts of granules in your gutters, it could signal that your shingles have been compromised.
- Detached gutters: Gutters that are hanging or bent might indicate more significant roof damage caused by high winds or falling debris.
4. Check for Leaks Inside the Home
Inspect your attic or ceiling for leaks, water stains, or signs of mold growth. These can indicate that water has infiltrated your roof, and immediate attention is needed. Early detection of leaks can prevent extensive water damage to your home’s structure.
5. Examine Flashing and Seals
Flashing, which seals joints around chimneys, vents, and skylights, can easily be dislodged during a hurricane. Damaged flashing can lead to leaks and water damage if left untreated. Be sure to check all the areas where flashing is installed for any signs of shifting or detachment.
6. Document the Damage
Taking photos and videos of the damage is essential for your insurance claim. Capture clear images of:
- Missing or broken shingles
- Leaks or water stains inside your home
- Any visible debris on the roof or damage to surrounding areas These visual records will be critical when filing a roof insurance claim after Hurricane Milton.
7. Contact a Roofing Professional
While you can perform a preliminary inspection yourself, it’s always best to consult a professional roofing contractor for a thorough assessment. A roofing expert will be able to identify hidden damage that might not be obvious to the untrained eye and provide a detailed report.
8. File an Insurance Claim
Once your roof damage has been assessed and documented, contact your insurance provider to start the claims process. Having a roofing professional’s assessment can make the process smoother, as it serves as an official evaluation of the damage.
Final Thoughts
Roof damage is one of the most common issues homeowners face after hurricanes like Milton. The quicker you identify and address any problems, the better you can protect your home from further damage.
Call to Action:
At Legion Roofing and Construction, we specialize in post-hurricane roof inspections and repairs. Our expert team is here to help you assess the damage, guide you through the insurance claim process, and restore your roof to its best condition. Contact us today for a FREE Inspection and ensure your roof is prepared to handle any future storms.